Mon - Fri: 9:00 - 19:00 / Closed on Weekends

AUS: +61 431 085 666
USA: +64 21 480 290


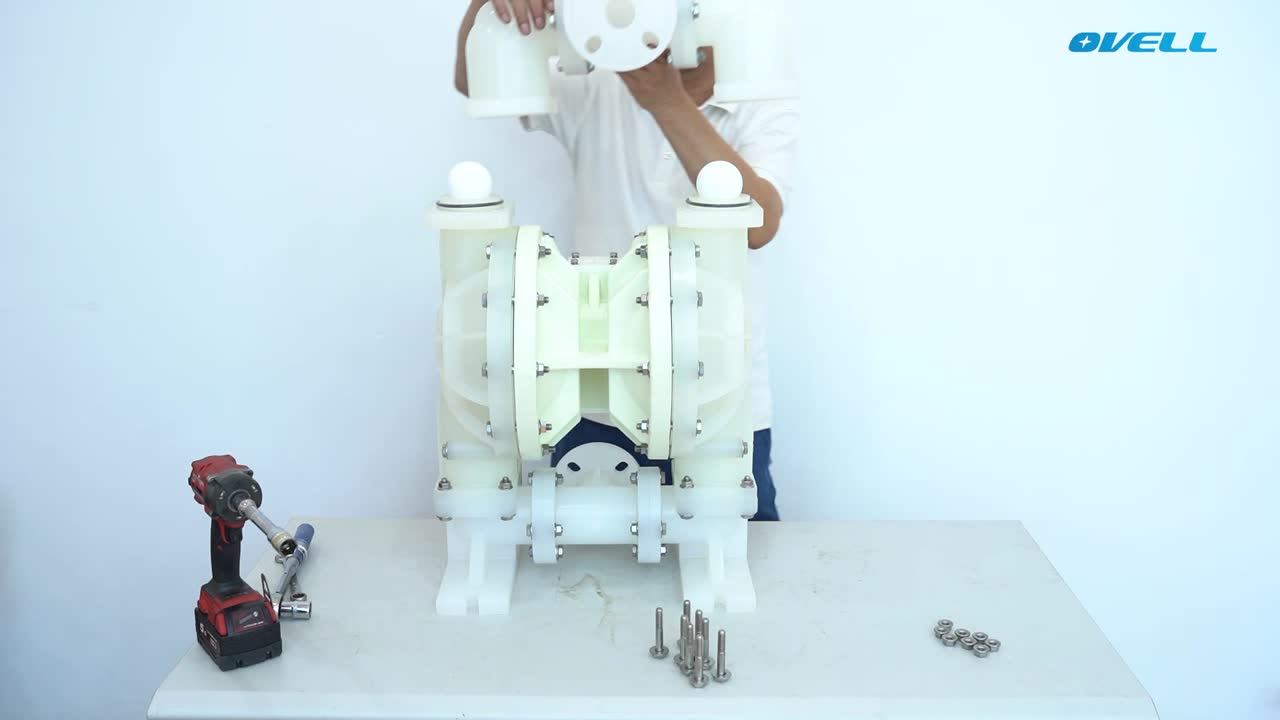
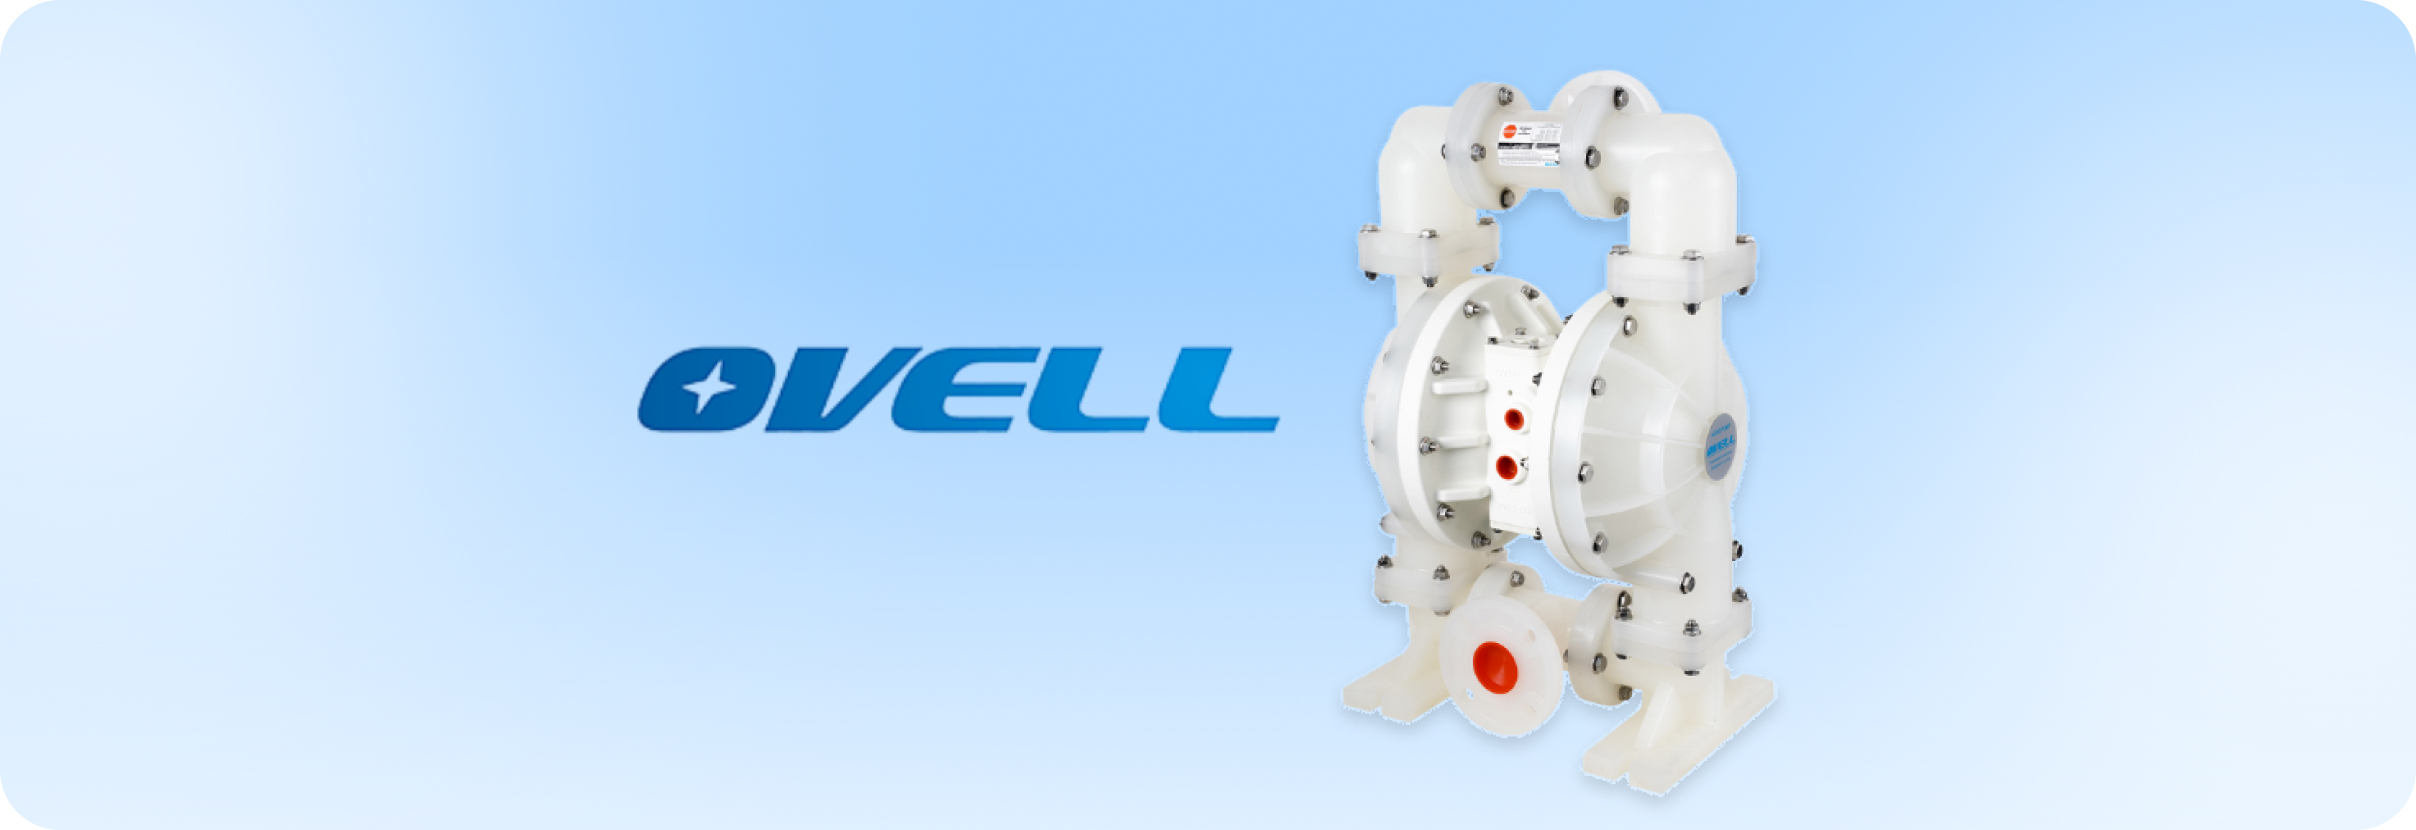
Correct reassembly matters when maintaining a plastic air operated double diaphragm pump (AODD pump). Seals, diaphragm components and housing alignment all deserve attention before the pump returns to service. This OVELL assembly video provides a visual reference for technicians preparing for plastic diaphragm pump maintenance.
The demonstration shows air valve components and O-rings being fitted, followed by diaphragm assemblies on both sides and the assembly of pump housings and manifolds. The video identifies a PTFE diaphragm, backup diaphragm and inner plate. Use it to understand the layout; the exact model manual remains the reference for parts order, tightening values and servicing procedures.
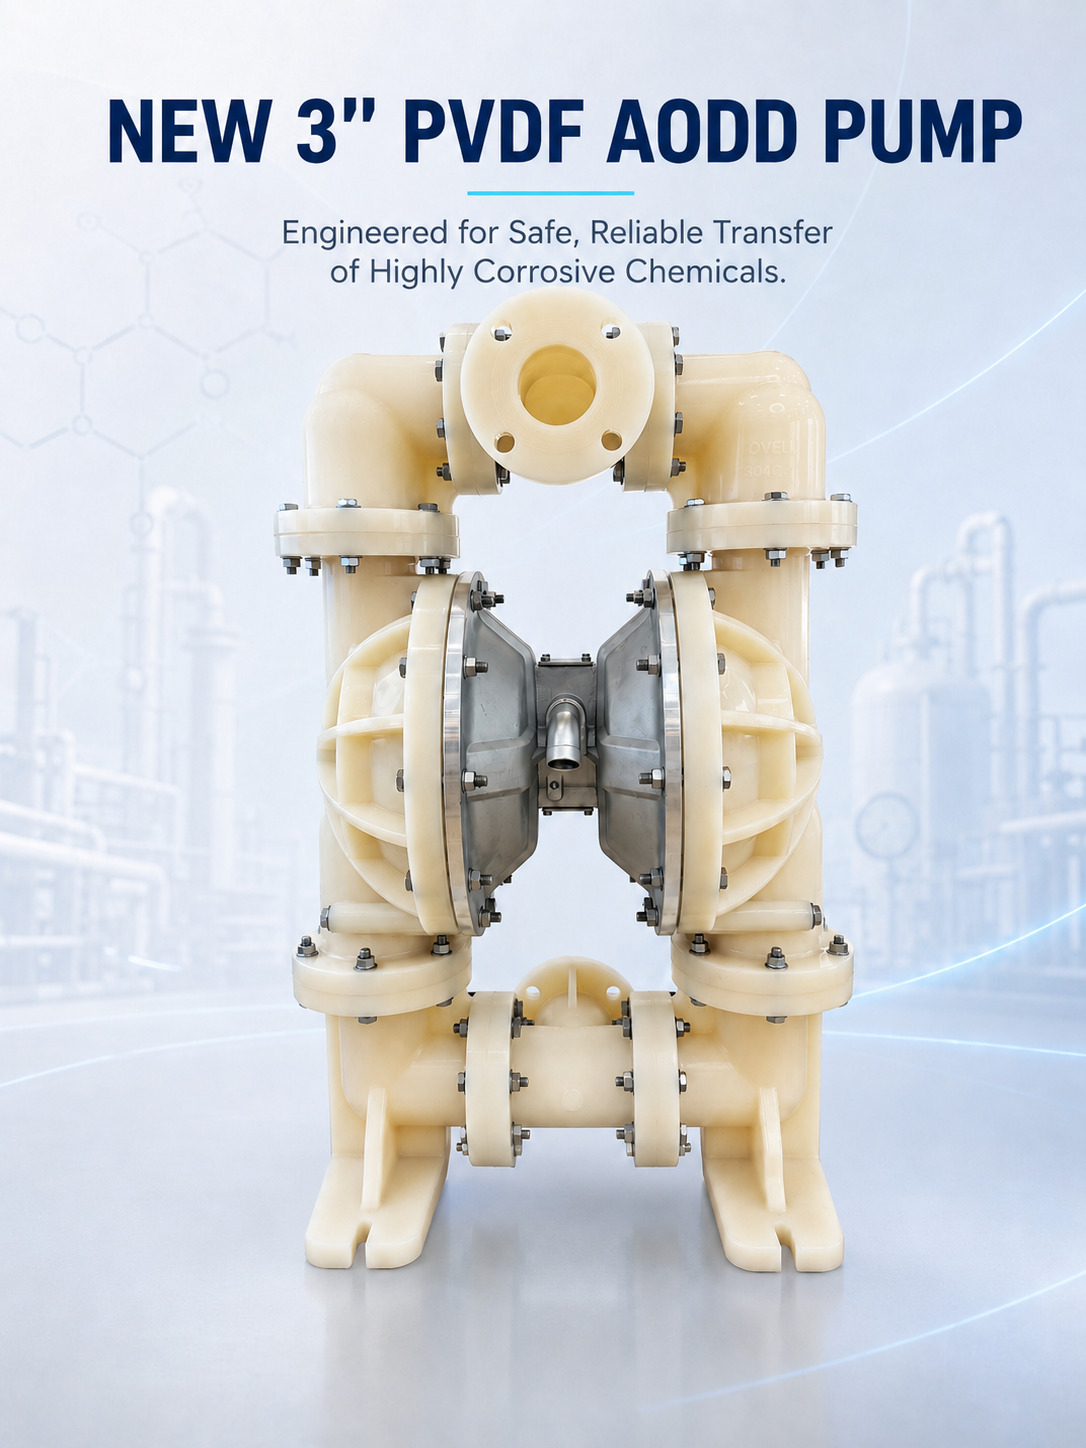
Identify the complete model code, wetted materials and diaphragm configuration before ordering a repair kit. Do not infer PP or PVDF construction from the colour of the pump. Confirm the suitability of every replacement component for the actual liquid and operating temperature.
Isolate and lock out the compressed-air supply, isolate the process connections and release trapped air and liquid pressure. Drain and decontaminate the pump for the liquid handled. Use a clean workbench and keep small seals, washers and spacers in their recorded assembly order.
During inspection, look for damaged O-rings, contamination and wear on the spool, sleeve and mating surfaces. Fit seals in the correct grooves without twisting or cutting them. Follow the model instructions for lubrication and component orientation; similar-looking seals and spacers may have different functions.
A pump that will not cycle does not automatically need a new air valve. Check the available air supply, exhaust restrictions and installation conditions before deciding which components to replace.
The video shows the diaphragm, backing component and plate being assembled before work is repeated on the opposite side. Match the sequence and orientation to the exploded drawing for the exact pump. Inspect plates, shaft connections and sealing surfaces, and replace damaged components. Keep the diaphragm edge properly positioned as the housing is installed.
Do not assume every PTFE diaphragm uses the same backing arrangement. Use the specified fasteners, tightening method and torque. The power tools shown in an assembly demonstration do not establish a suitable torque setting for maintenance work.
Check housings for cracks, distortion and damaged sealing faces before reassembly. Bring mating parts together without forcing them into alignment. Check valve balls, seats and their seals according to the model drawing, and confirm manifold orientation before tightening.
Plastic components require the specified fastening sequence and torque. Avoid using extra tightening as a remedy for a damaged seal or misaligned housing. Support the pipework independently so that the pump connections do not carry pipe loads. Follow the manual if further torque checks are required after assembly or service.
Confirm that the pump, connections and installation are ready for a controlled test. Restore air gradually as instructed by the manufacturer, staying within all equipment ratings. Check for air and liquid leaks, regular cycling and the expected flow under the actual duty. Stop if the pump behaves abnormally. Record replaced parts and test results for future maintenance.
Consult the product manuals for model-specific procedures. Explore the plastic diaphragm pump range to compare configurations, or contact OVELL with the model, operating conditions, fault symptoms and photographs for help identifying parts. The earlier aluminum pump article provides a separate visual reference for air motor and center-section assembly.
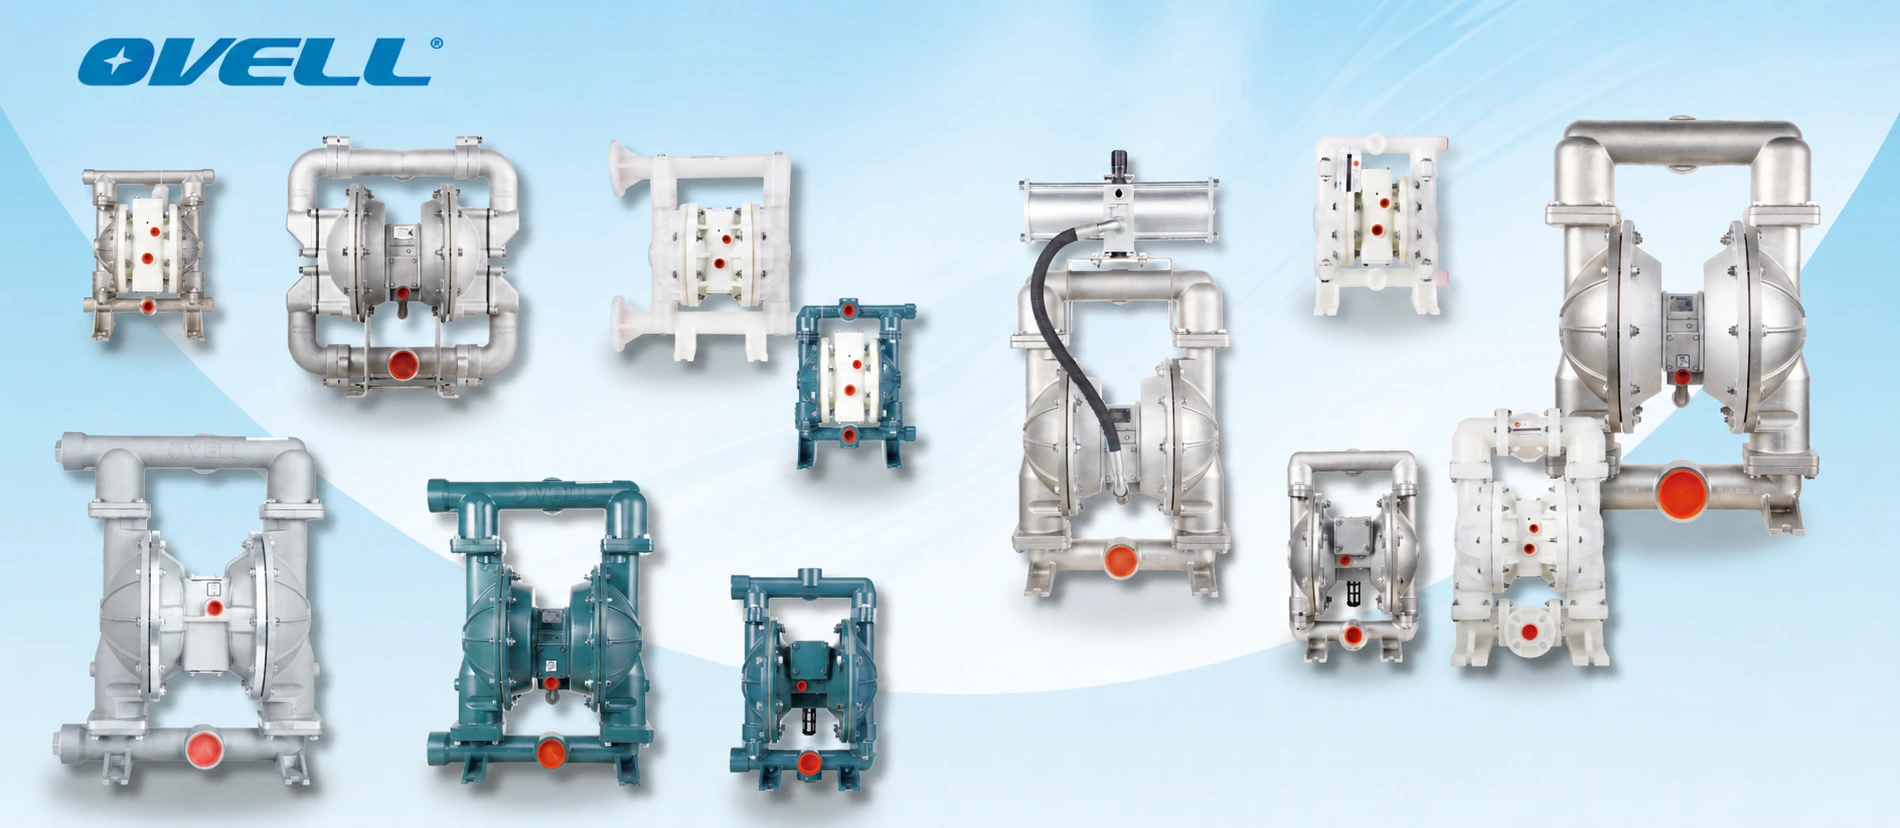
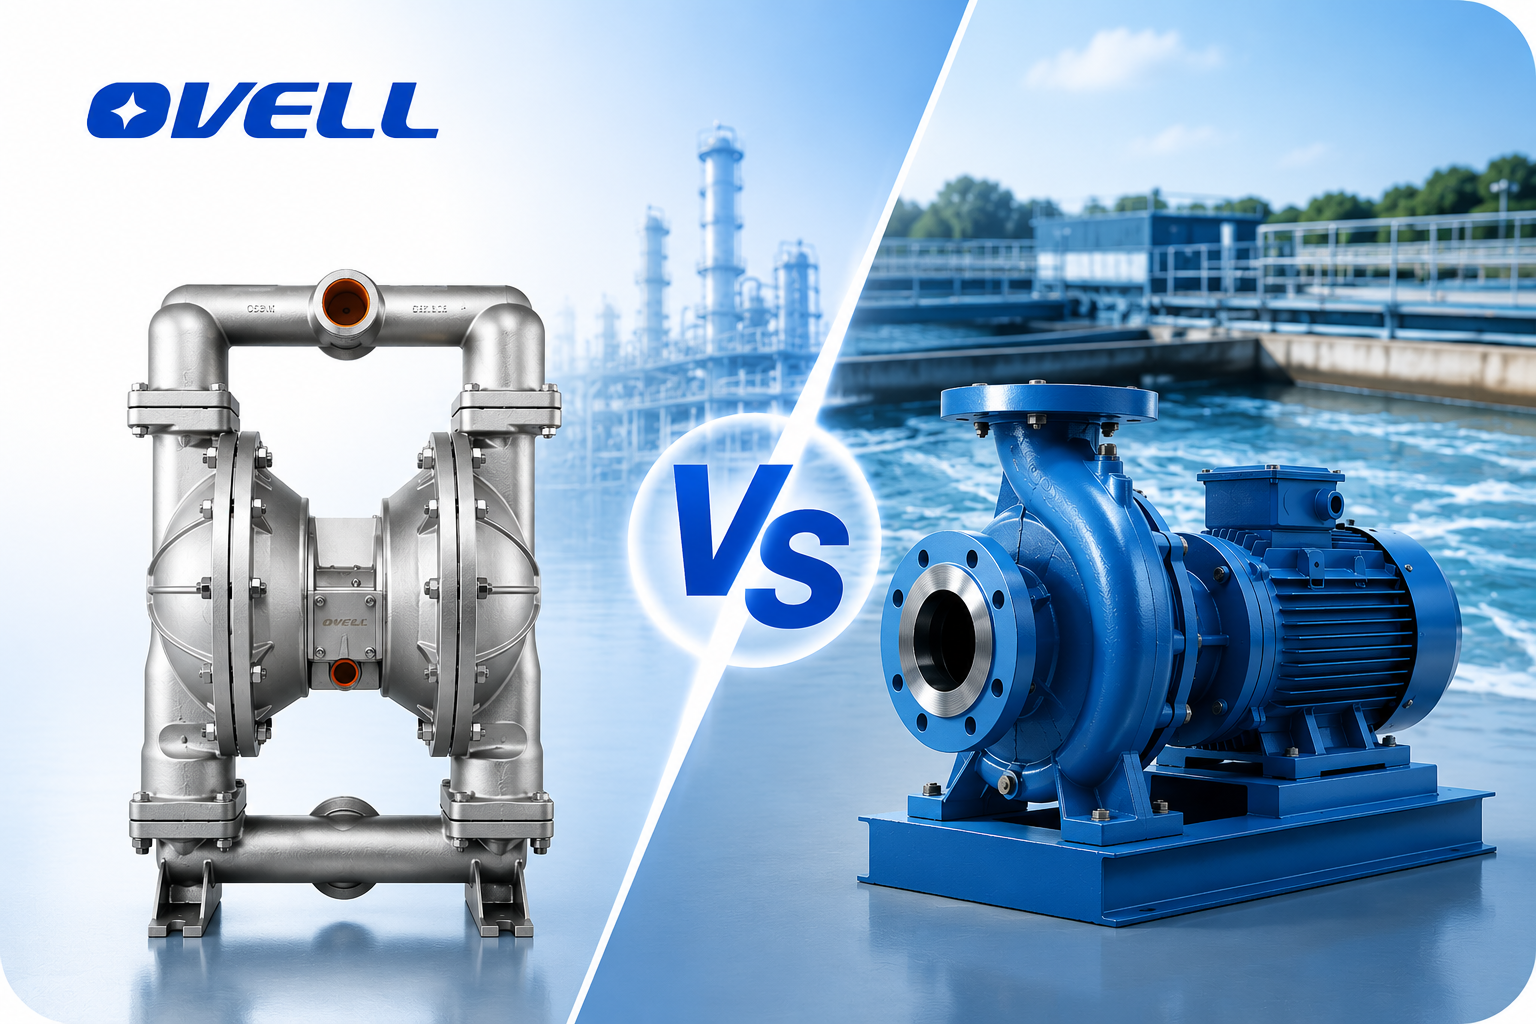
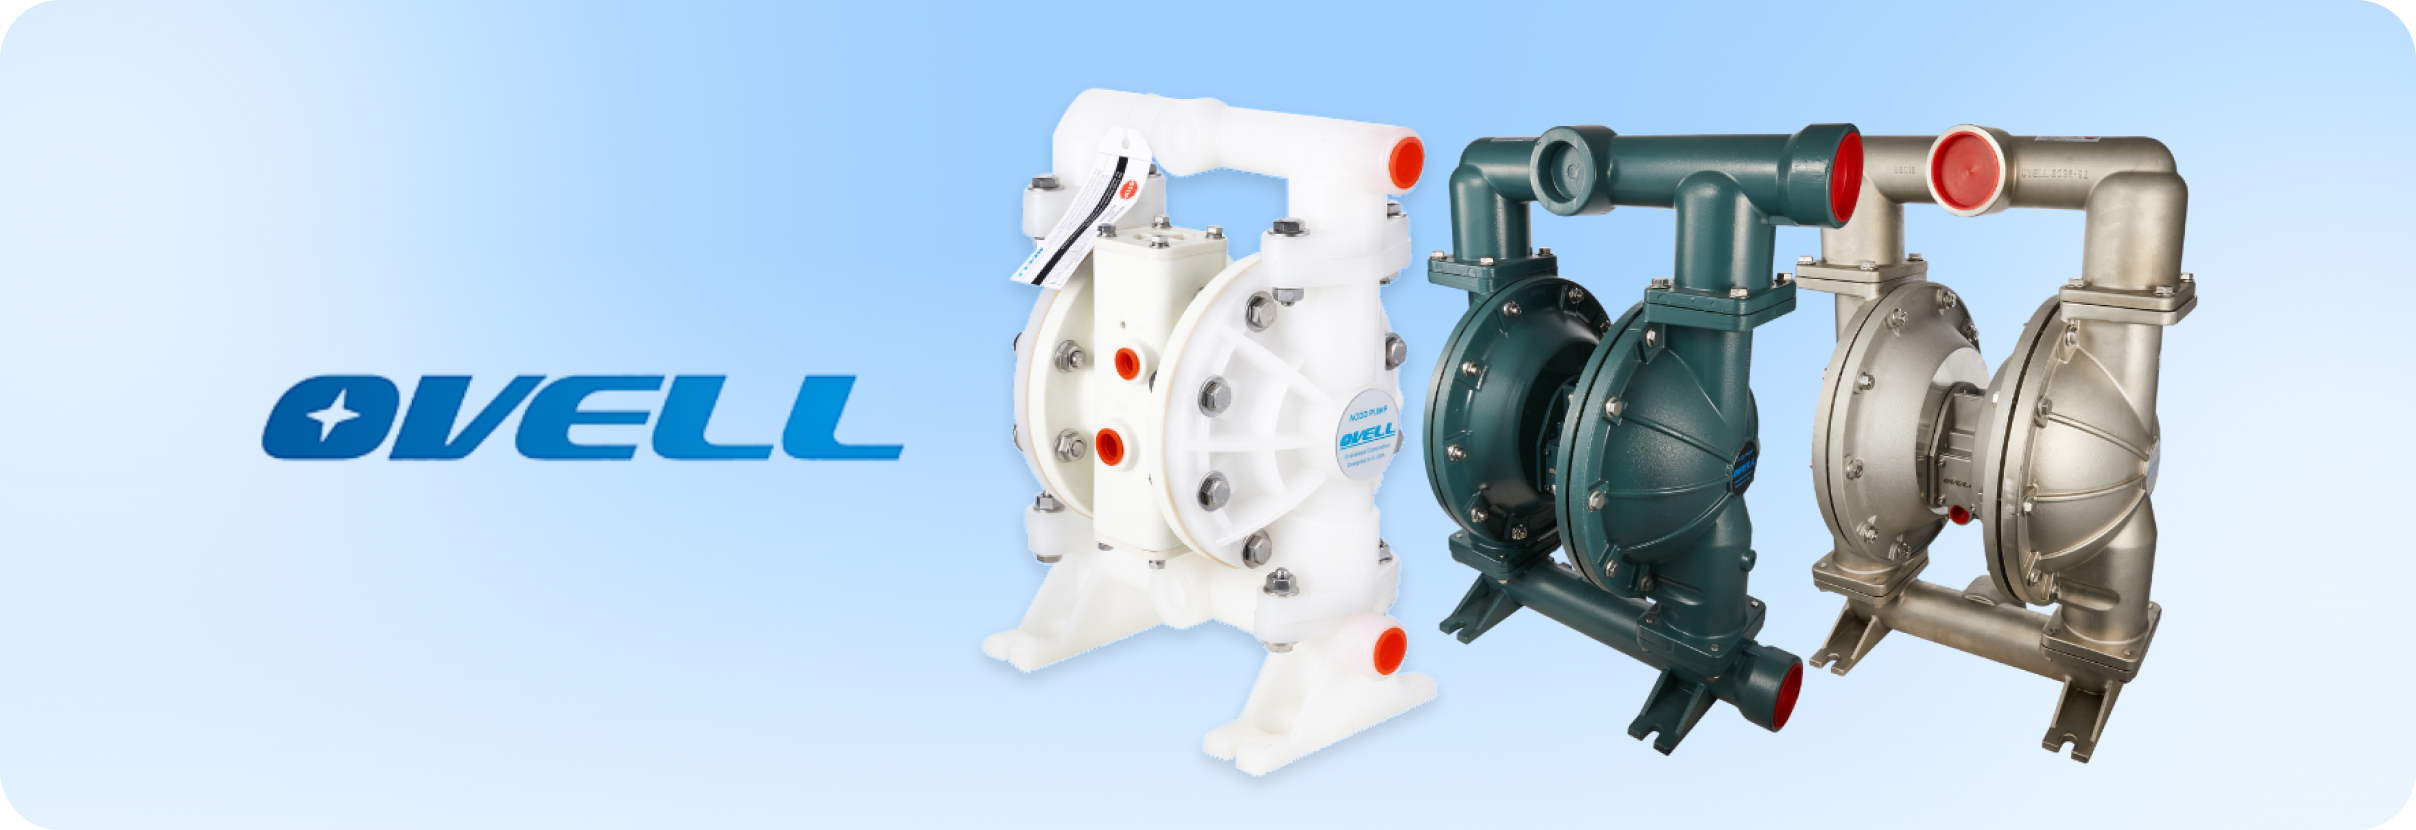
The assortment below shows several OVELL pump configurations. Select the pump and replacement materials for the liquid, installation and operating requirements.